


Blog
Location & Moving
For this first making-of, I will present you one of the first problems I had to deal with: displaying and moving a character in a scene.
Presentation of the problem
In all the embryos of games that I had developed until now, the gameplay relied on a scene seen from above and controlled with the arrows of the keyboard (or WASD), in a style close to the first Zelda or rather the first Pokémon (since the character was fully "tied" to a grid, a movement could only be stopped right on one of the cells, not between two). In short, in terms of programming, it quickly boiled down to shifting an X index and a Y index in a two-entry table that represents the grid, nothing complicated.
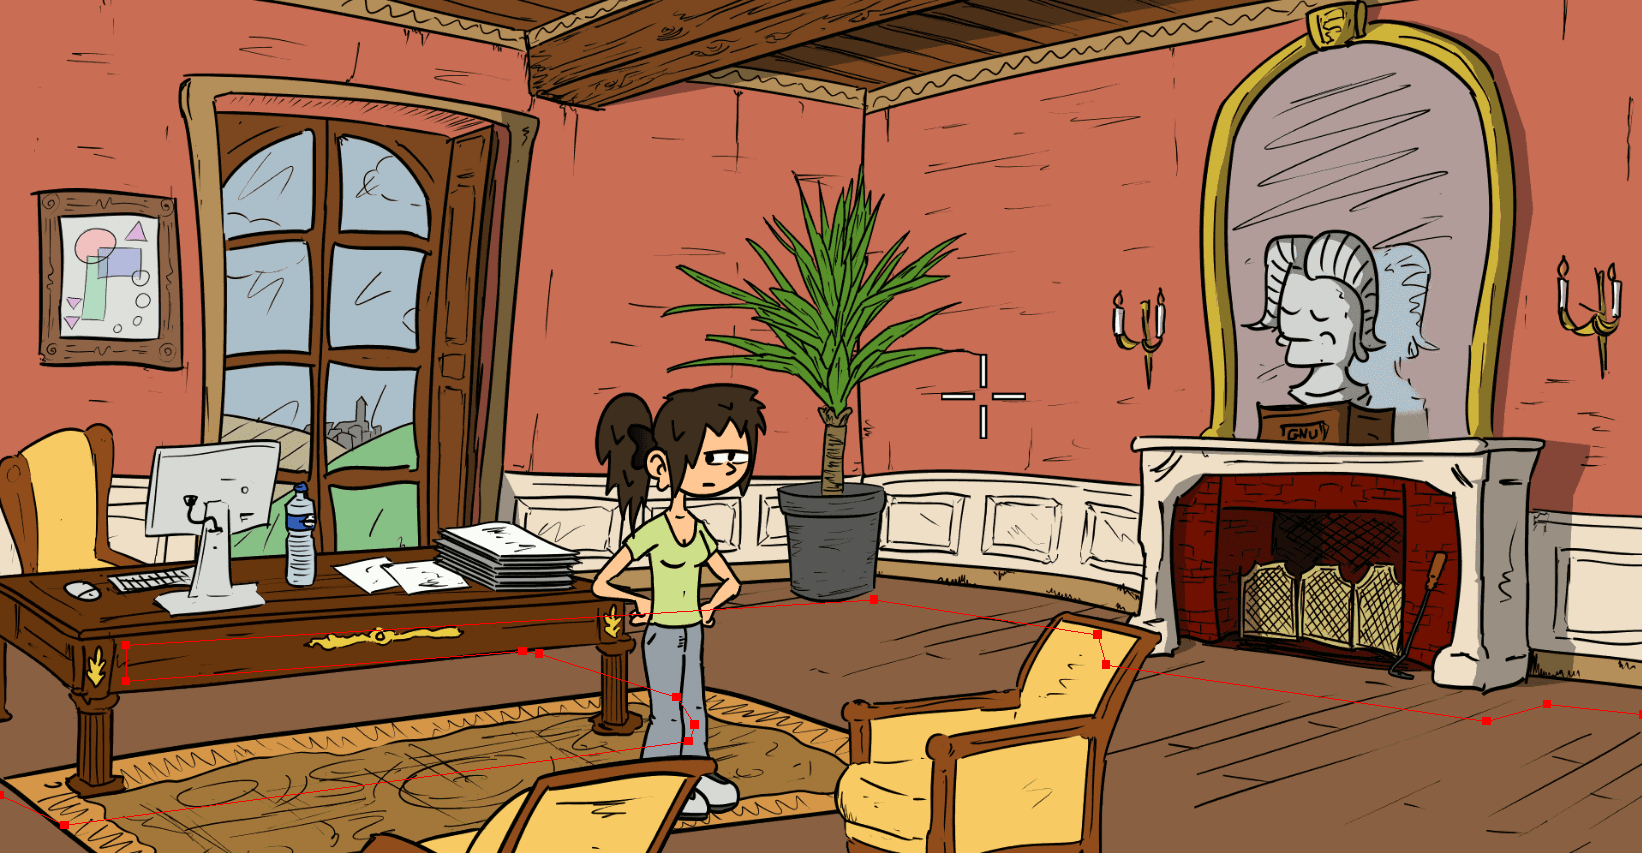
Here, it is slightly more complicated: the scene is 2D scene but it represents a 3D environment seen from the side. Movements are handled with the mouse: you click somewhere and the character must go there. If you click on a non-ground location, the character must get as close as possible to the click while remaining on the ground ...
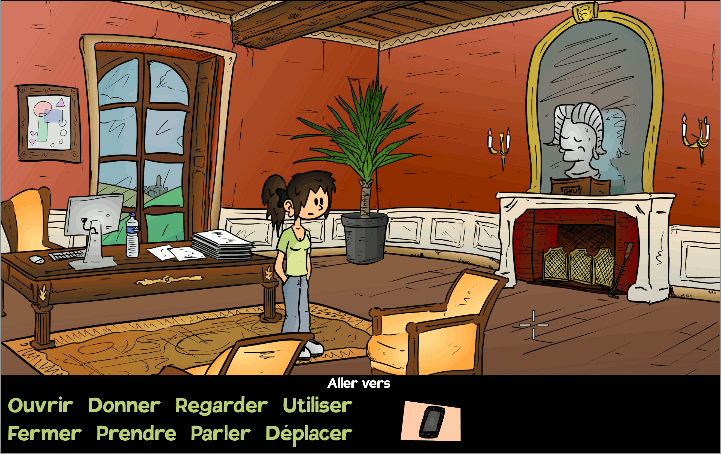
NOTE: this article was originally written before the game was translated from French to English, the following screenshots thus use the French version. Sorry for the inconvenience.
Represent the ground
The first task is to represent the ground. The scenery is represented by a single image (made with Inkscape). The idea is to use a second image, this one invisible, which represents a “mask” of the ground. The person playing clicks somewhere in the scenery, but the internal engine checks where this click is on the mask: if it is a white pixel, it is a ground point and we consider the coordinates of the pointer as the “target” coordinates of the character; if it is a black pixel, it is a wall (or another element of scenery), and we therefore find the closest white pixel which will be the “target” coordinates of the character.
The ground mask is slightly contracted ... to take into account the size of the character's feet! Actually, I'm using the point in the middle of the bottom edge of the image of the character as a position mark, and I must therefore prevent the toe of his shoes from showing on a plinth ...
A little depth
As our stack of 2D images is supposed to represent a 3D environment with a certain depth, I added a system so that this ground mask also encodes a notion of distance “to the camera”: the greater this distance, the smaller the character will be displayed, to simulate an effect of depth. In practice, I thus use a gray gradient for the ground and a neutral color (arbitrarily blue) for the inaccessible areas:
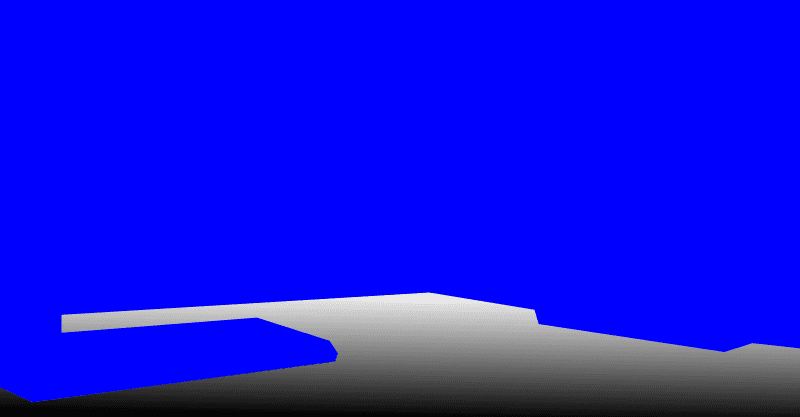
Whenever we click, if we are on a non-ground pixel (now blue), we look for the nearest ground pixel (non-blue), that part does not change. What changes is that we will now use the gray tint of the ground pixel (either the one clicked, or the one computed if we had clicked on blue) to dynamically compute the distance to the camera and thus the size of the character. We set, via a config file, a maximum depth value corresponding to white, another minimum corresponding to black, and we make a simple rule of 3 to find the value from the clicked shade of gray.
Admittedly, the difference of size is slight here, but we can imagine scenes with much more depth:
Well, Sophie looks a bit like she's sliding on the ground here because I haven't set the walking speed properly for this kind of depth yet, but that's the idea.
This depth will also allow us to manage occlusions, namely: which object is in front of which other with respect to the camera. If Sophie walks at the back of the scenery, the office furniture must be displayed in front of her, but if she walks in front, it must be displayed behind. In practice, we give a fixed depth to each object in the scene while the character's depth is calculated dynamically.
Find the way
It's all well and good, but now that we know where the character should go, at what size to display it and in front of (or behind) which objects, we have to know which way to go. A straight line is the shortest path, yes, but a straight 2D line in the image may very well cross the path of an impassable object ... or even a wall in the simulated 3D environment!
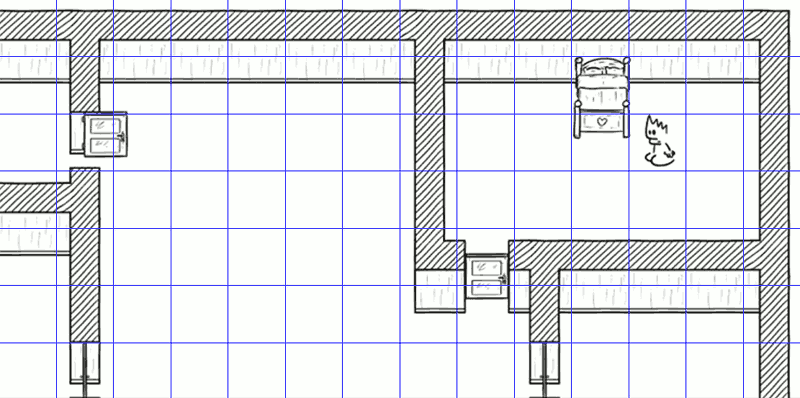
We thus first represent the edges of the accessible ground zone by a graph, computed at runtime from the border of the non-blue zone:
Whenever the player clicks somewhere, we add two vertices to the graph: one at the character's current position, and one at the target position (again, either the point clicked if we clicked on the ground, or the point nearest to the click on a wall). We connect these two vertices to all the “visible” vertices of the edge (those that we can connect without crossing another edge of the graph):

And now it only remains to apply an algorithm for calculating the shortest path in a graph as it has existed for decades: the one I use is the greatest classic of its kind, the Dikjstra algorithm (which is from 1959, really!). More efficient algorithms exist, especially if you have a very large graph (typically, in your GPS, much smarter things are done). There, even with a complex scene, we rarely have more than a few dozen peaks, that's peanuts, so Dijkstra is more than enough.
The algorithm returns the list of edges that must be traversed to go from the starting point to the end point, and we just have to follow it!
All this is done very quickly: from what I measured in my game on my small laptop, each click triggers a 0.3ms computation. The game is running at 60 images per second, so each image must be generated in less than 16ms: we can therefore easily calculate the shortest path between two images without this visually impacting the game (it does not lag). If we click elsewhere during a move, no problem, we forget the previous path, update the starting point using the new position of the character, and we redo the same calculation!
One of the limitations of the current implementation is the case where an area would not be visible from the start vertex nor from the finish vertex: in this case, the character would be forced to follow the border in that area. To correct this, one could imagine adding more edges to the base graph, but for now the current implementation is sufficient.
It works, she walks!
Once we know where our character has to go and where it has to go, we still have to animate it, because we would not want to "just" drag an image (if our character was R2D2, it could probably be done, to be fair).
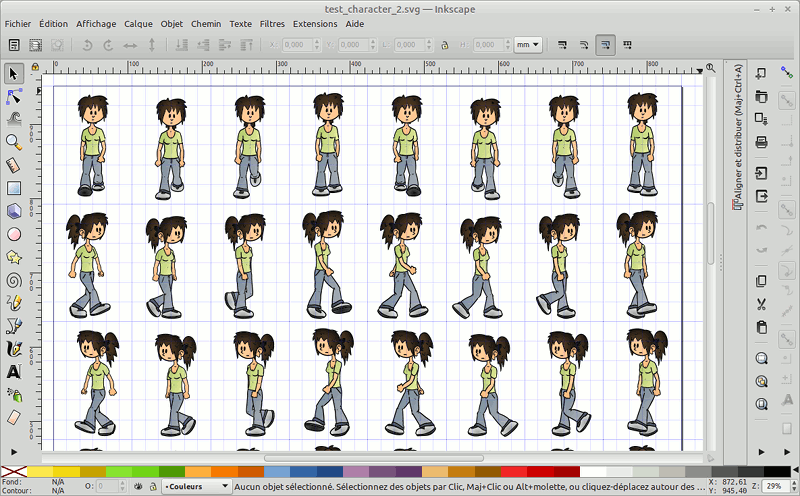
But I will tell you more about that in an upcoming making-of which will thus be more "graphics" oriented. Thank you for your attention!